This is a basic tutorial on how to fit a buttplate, simply, with minimal tools.
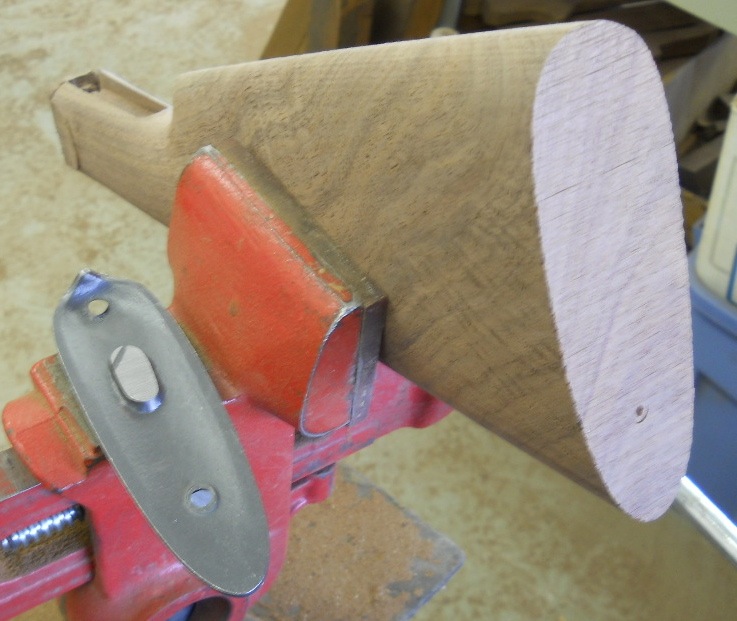
The most essential tool is a vise, or other method to hold your work without damage to the stock. This is a versa-vise, mounted on a pipe stand, and has neoprene on the jaws.
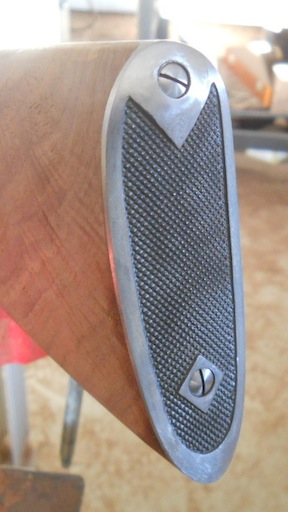
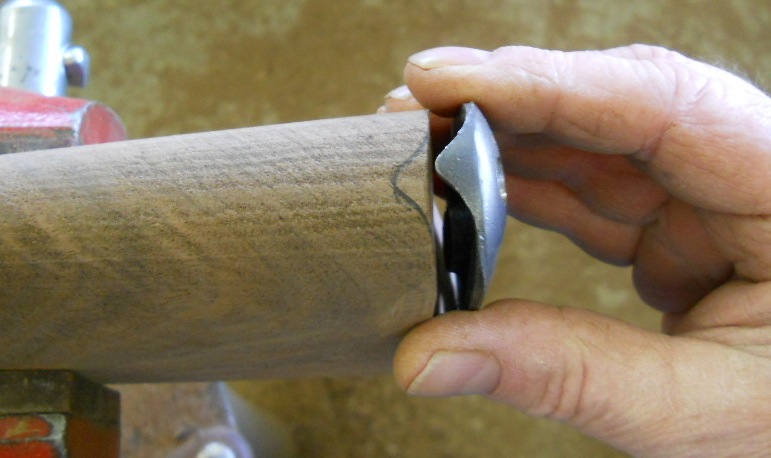
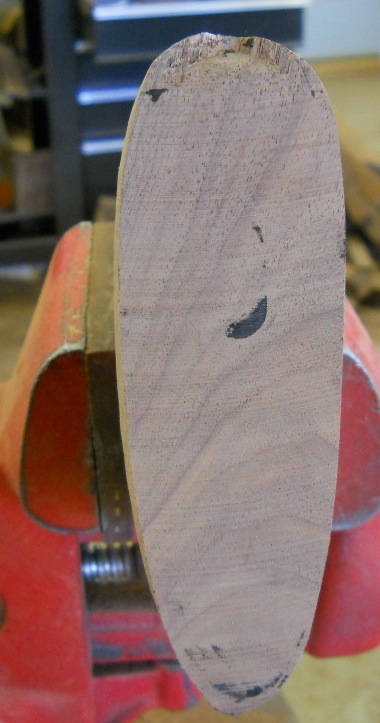
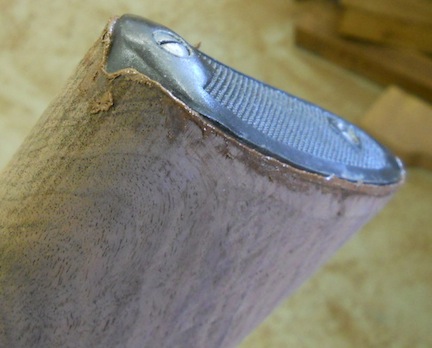
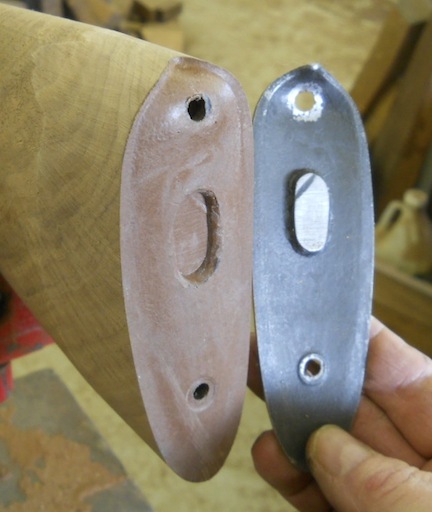
The stock is cut flat, with no starter inlet for the plate, so we are starting from scratch. The buttplate is my standard winchester checkered steel type, shown left of the stock.
Here you can see the slight curve of the plate, we will adapt the stock to accept the plate.
Don't panic, it is not rocket science.
Don't panic, it is not rocket science.
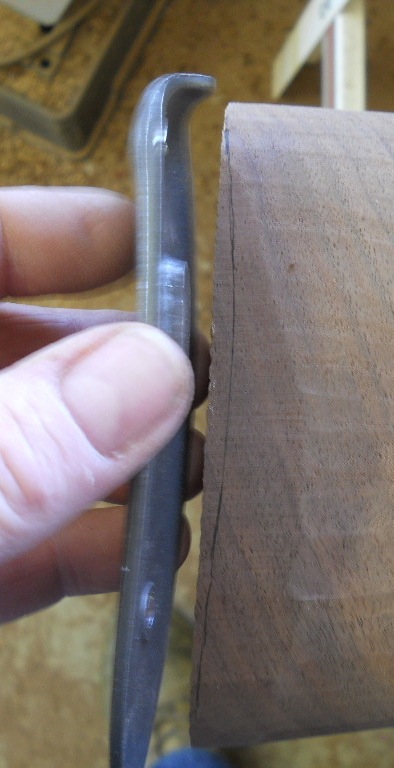
I used a ballpoint pen to define the approximate curve of the plate. I cut to this line with my bandsaw, but a file can be used to do it. Keep the cut square or the buttplate will be cockeyed.
IF you cut deeper into the stock than this line, you will have a gap when the plate is seated,
so this stage of the job is very important.
IF you cut deeper into the stock than this line, you will have a gap when the plate is seated,
so this stage of the job is very important.
Using the pen, I have marked the rough location of the widows peak for the buttplate, I will
use my chisels to start this cut.
use my chisels to start this cut.
Using a SHARP quarter inch chisel, I start my mortise, using the pen mark as a border guide. It is best to use both hands, but I need one for the camera, so use your imagination.
Use a dremel at your peril.
Use a dremel at your peril.
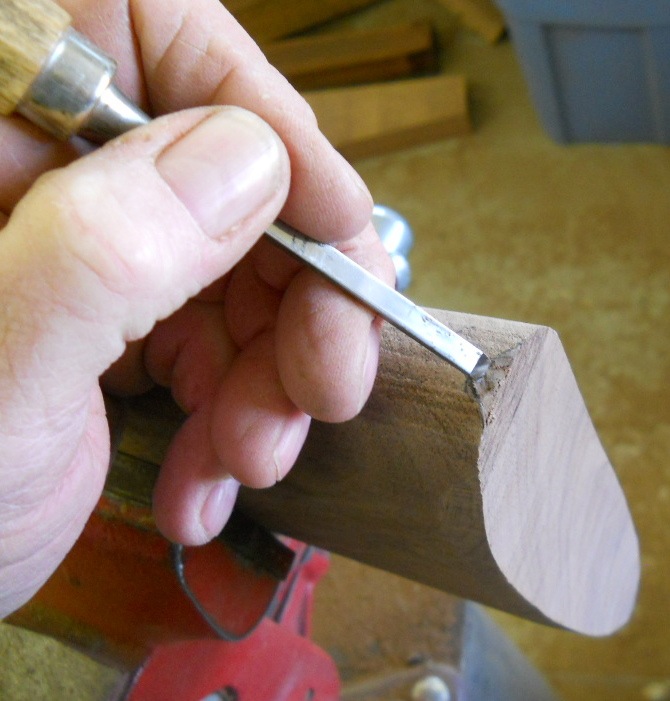
These are the two chisels I use, one is a half round, the other square point, both are razor sharp.
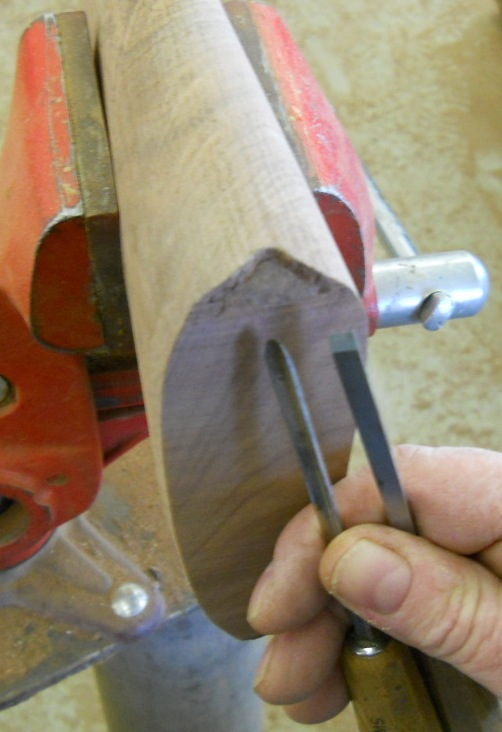
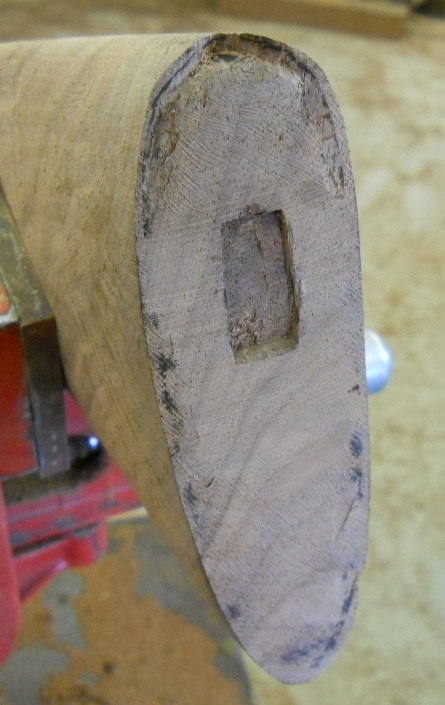
Moving right along... I have roughed the curve of the plate on the stock, and established a pocket at the top of the comb, so now I will need the plate to tell me what needs to be removed.
I use inletting black (I can sell you some with the stock, or you can use a smokey candle (try explaining that one to the fire dept.) or Prussian Blue, or whatever you can find that will transfer a mark)
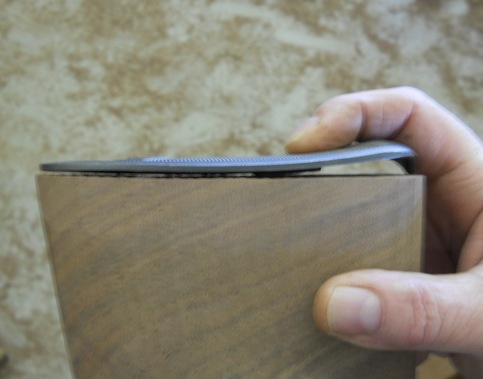
As you can see in the blurred photo, the back of the plate is coated with inlet black. I carefully position it on the stock and give it a LIGHT tap to mark points of contact.
I use inletting black (I can sell you some with the stock, or you can use a smokey candle (try explaining that one to the fire dept.) or Prussian Blue, or whatever you can find that will transfer a mark)
As you can see in the blurred photo, the back of the plate is coated with inlet black. I carefully position it on the stock and give it a LIGHT tap to mark points of contact.
Here is the marking on the first try. Using the chisel, remove only the mark.
In this case I know I have a gate, or boss in the center of the plate, so that is a
mortise that I will have to dig out to allow the plate to seat.
When I have removed these marks with the chisel, I use the plate again to re-mark
the new points of contact. If I do it correctly, the marks will become larger each time.
Yes, it is time consuming, if you become frustrated, walk away for a bit, come back
when you are in the mood. Your patience will be rewarded.
It is starting to look like a buttplate inlet. It has taken me about 30 minutes to get to this point, and I have impressed the blackened plate about 5 times. Do not be discouraged if you take
longer.
Note the black line developing showing the contact. Actually I have been going too fast for this piece of wood, the end grain is more demanding, and is rougher than if I were taking more time and keeping the chisel razor sharp. I am also using a small file at times, you can see file marks in places. Sometimes a scraper will come in handy also.
Long story short, I have finally gotten the plate seated. It takes as long as it takes.
Next I will set up for the mounting screws
Next I will set up for the mounting screws
Using both hands (I have the camera, remember?) I hold the plate in place and use the other to mark the hole location with a pen. The top hole goes in at an angle, the lower hole is straight in.
Using a hand drill, I select a sharp drill bit that is almost as large as the shank of the screws.
I pre tap the hole by running in the screws to their finish depth.
Then I remove the screws and mount the plate to check final fit.
I pre tap the hole by running in the screws to their finish depth.
Then I remove the screws and mount the plate to check final fit.
When I used the screws to mount the plate, I found I had wandered with the drill a bit. The plate did not sit square in my inlet, so I have to re-drill my top hole. Not a problem. I whittled a piece of hardwood for a plug. Placing a few drops of woodglue (I like Titebond type 3)
I then tapped the plug into place and went off to find something else to do for a few hours.
I then tapped the plug into place and went off to find something else to do for a few hours.
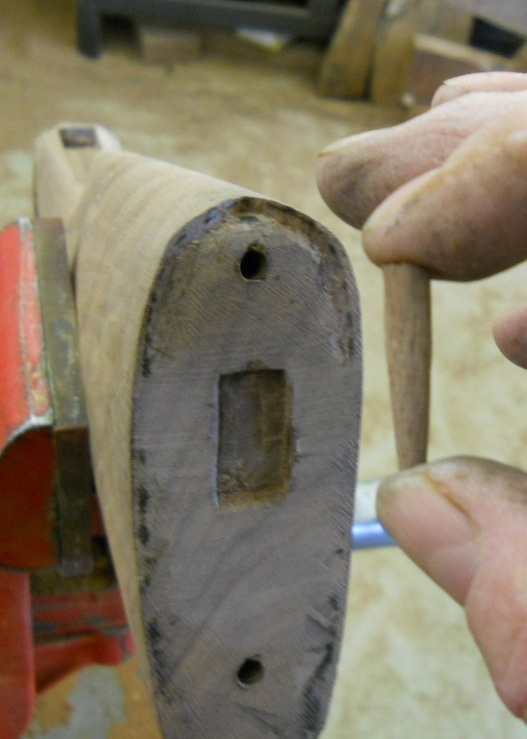
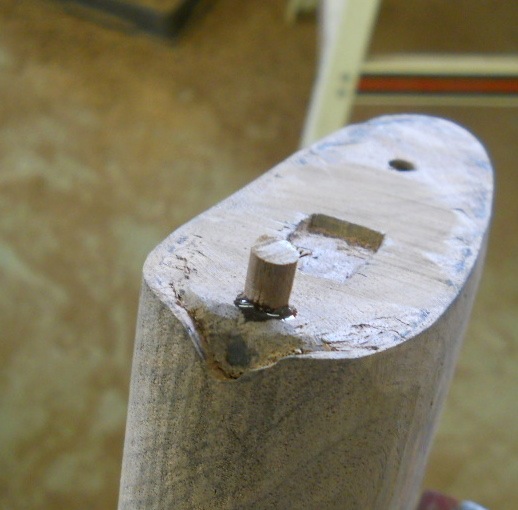
OK, were back, the glued plug has set up nicely. I cut and filed it flush.
Put the buttplate back on and I used the lower screw to hold it in place while I marked the new
top screwhole location and drilled it. I am happy to say it was not necessary to re-plug the hole, but if needed, re-plug and drill until it is right.
Put the buttplate back on and I used the lower screw to hold it in place while I marked the new
top screwhole location and drilled it. I am happy to say it was not necessary to re-plug the hole, but if needed, re-plug and drill until it is right.
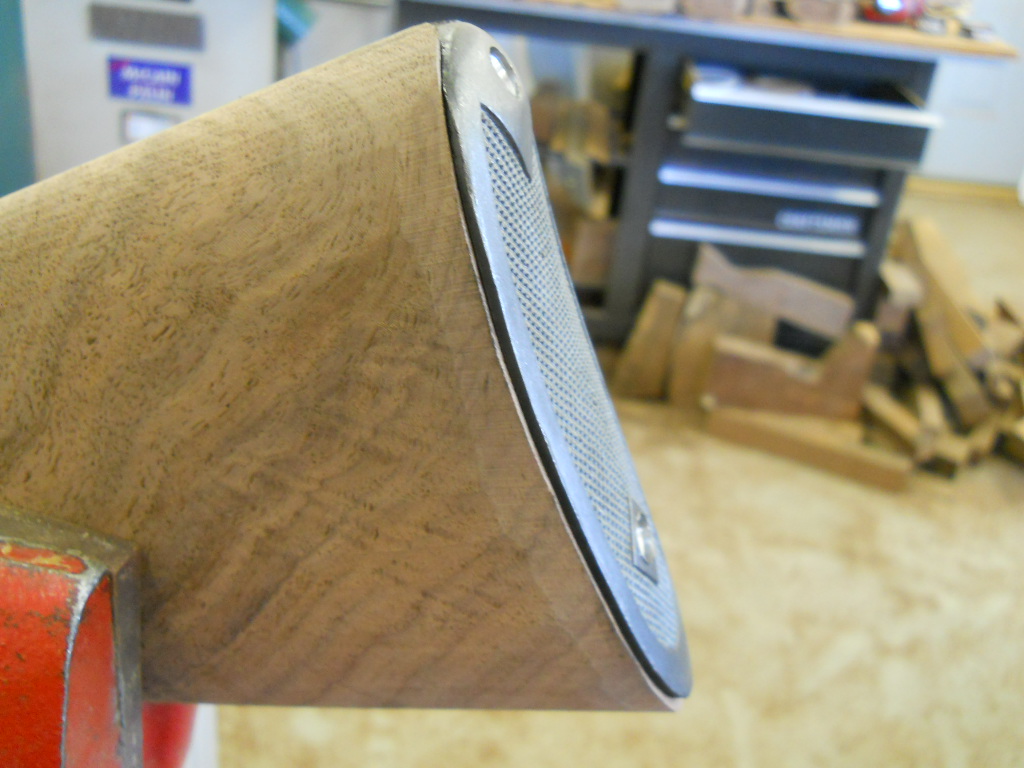
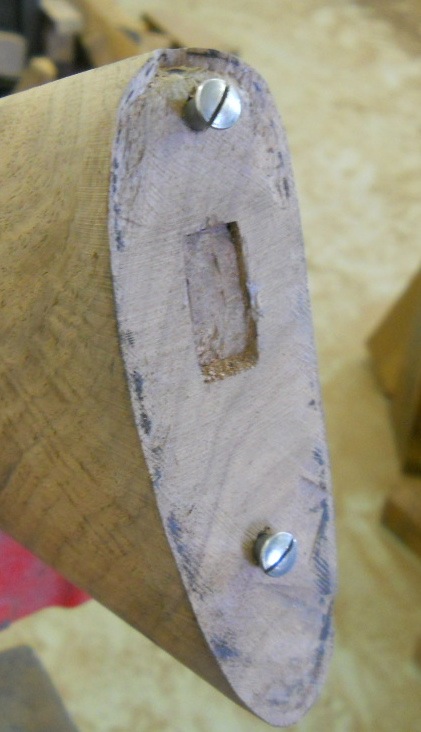
The plate is fit where I want it, screws in place. Note, the plate is not yet polished, and
the raw stock is proud of the buttplate.
So far, so good.
the raw stock is proud of the buttplate.
So far, so good.
Bedding the plate:
This step is optional, but recommended.
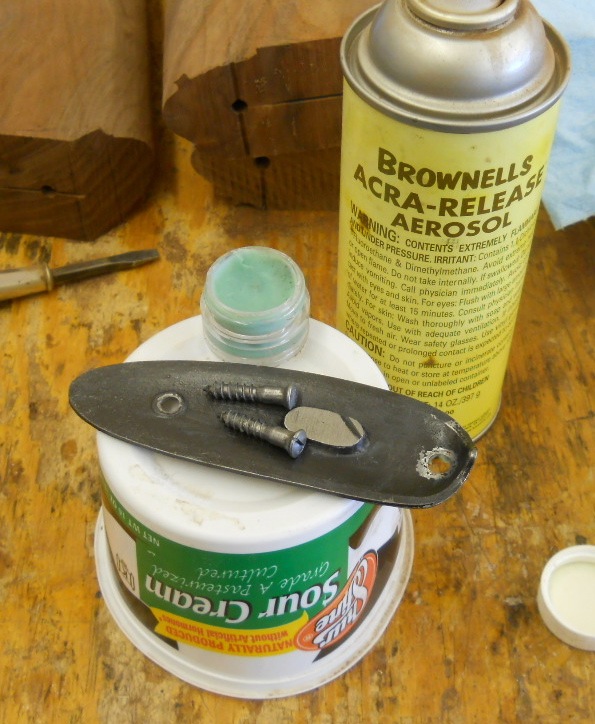
The plate is off the stock, cleaned and de-burred around the screwholes. The round jar with the greenish stuff is wax that is included in my bedding kits. The spray can is obvious. You can also use Pam cooking spray.
I coat the entire buttplate and screws with the wax, then give it a shot of release agent as cheap insurance from the bedding epoxy sticking to it. Not fun, don't go there.
This step is optional, but recommended.
The plate is off the stock, cleaned and de-burred around the screwholes. The round jar with the greenish stuff is wax that is included in my bedding kits. The spray can is obvious. You can also use Pam cooking spray.
I coat the entire buttplate and screws with the wax, then give it a shot of release agent as cheap insurance from the bedding epoxy sticking to it. Not fun, don't go there.
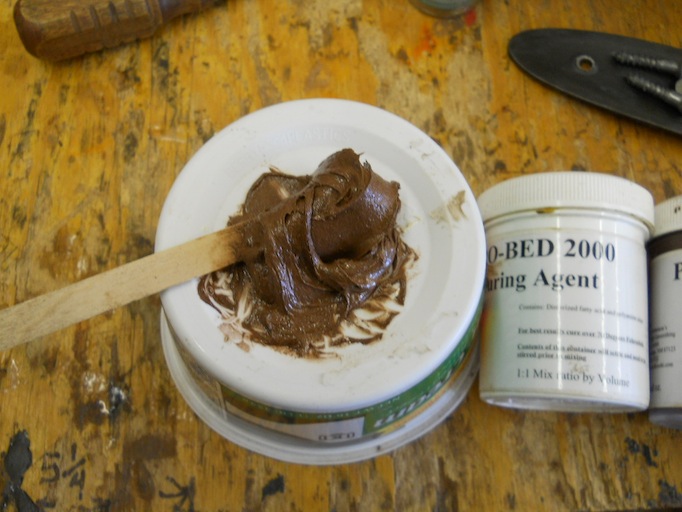
I scooped out somewhat equal parts of the bedding epoxy, and will stir them on this disposable
high tech mixing surface until well blended. It is more important to mix them really well than it is to have EXACTLY a 50/50 mix, but do try to be close to that.
high tech mixing surface until well blended. It is more important to mix them really well than it is to have EXACTLY a 50/50 mix, but do try to be close to that.

A couple minutes later, nicely mixed bedding compound. This is a bit more than I need, it is easy to make too much.
I have spread it on somewhat evenly (to the wood, NOT the plate)
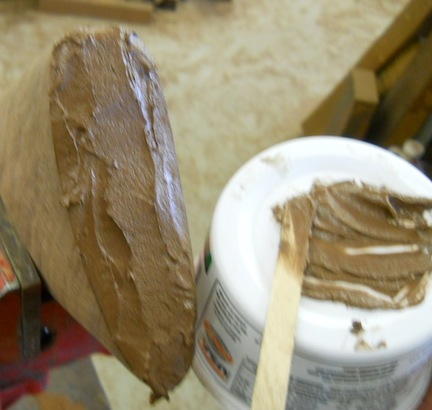
I install the plate with the screws, and the excess is nicely squeezed out. I was careful
ensure the plate as well as the screws had no burrs and plenty of release agent applied.
The screws will carry compound into the screwholes, which seals and reinforces the
hole.
After about 20 minutes, I take a popcicle stick and gently remove the squeezed out
excess bedding.
ensure the plate as well as the screws had no burrs and plenty of release agent applied.
The screws will carry compound into the screwholes, which seals and reinforces the
hole.
After about 20 minutes, I take a popcicle stick and gently remove the squeezed out
excess bedding.
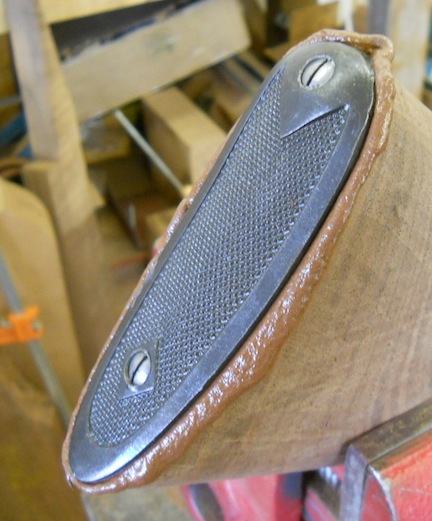
After removing the loose excess (no need to get all of it, as you will see shortly)
Seeing a continuous bead of bedding is a good indicator that there will be no gaps.
Seeing a continuous bead of bedding is a good indicator that there will be no gaps.
A DAY LATER....
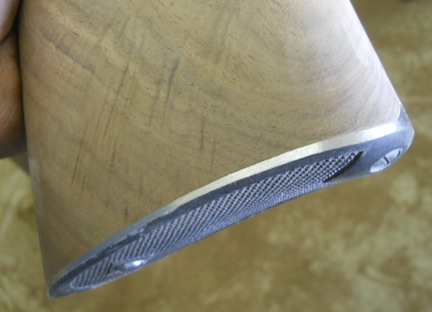
Carefully, using a flat file, I take down the excess wood and bedding to the edge of the buttplate, and refine the shape of the stock to a smooth flush surface. This makes the edge of the buttplate
and the surface of the wood equal, and removes the rough edge of the plate.
Carefully, using a flat file, I take down the excess wood and bedding to the edge of the buttplate, and refine the shape of the stock to a smooth flush surface. This makes the edge of the buttplate
and the surface of the wood equal, and removes the rough edge of the plate.
When both wood and metal are flush, I remove the screws, and with a gentle tap, remove the plate. Note the perfect reverse impression. Now the stock is less likely to chip and the wood is
well sealed from moisture.
If the plate or screws do not want to release, warm it up with a heat gun or hair drier (use some common sense please.) Very warm, but not hot, will help the release.
well sealed from moisture.
If the plate or screws do not want to release, warm it up with a heat gun or hair drier (use some common sense please.) Very warm, but not hot, will help the release.
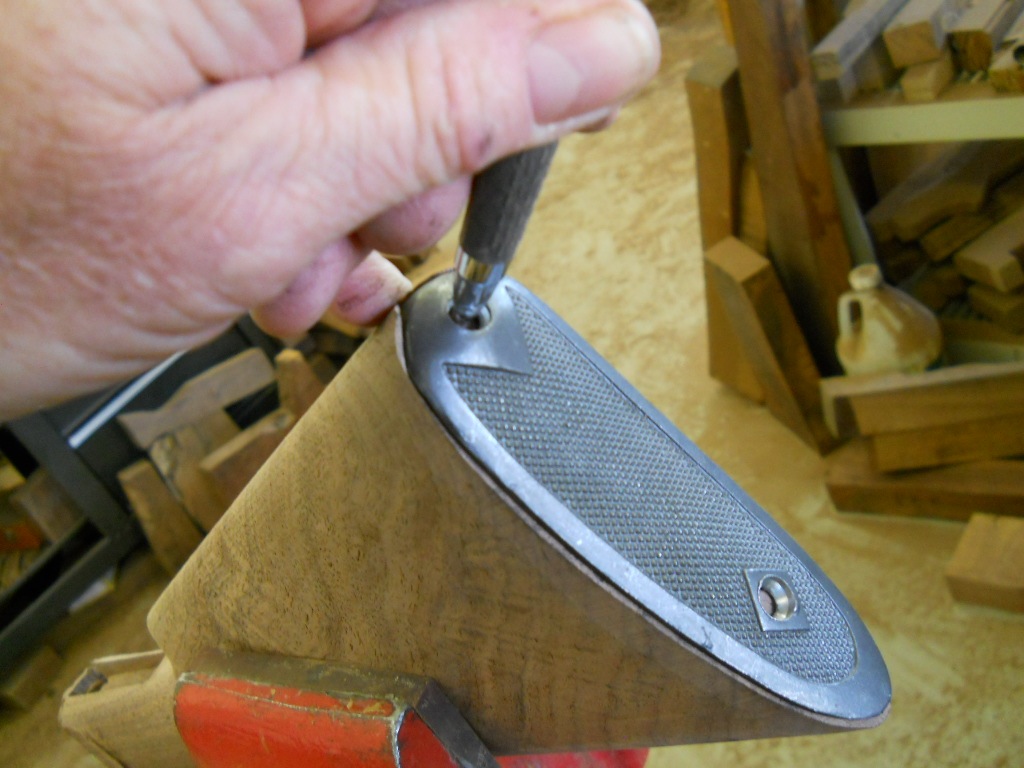
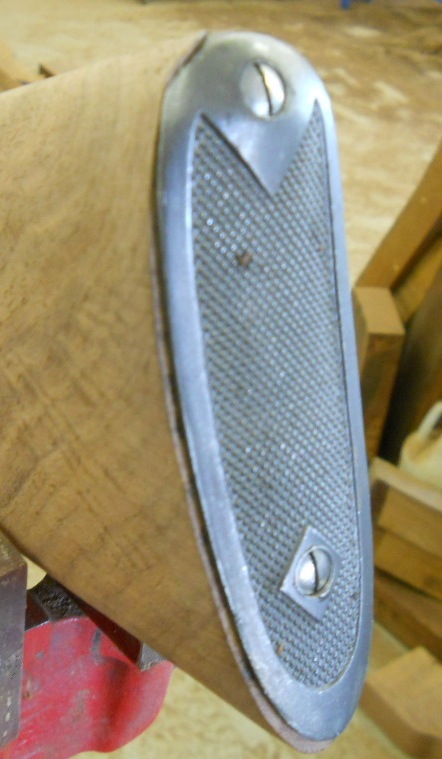
Now that the plate is fit and bedded, it's time to prepare the plate and screws for final finish,
be that bluing or case color.
I start with a find file, and being very careful to stay out of the checkering, proceed to dress the raw sufaces, starting with the diamond island at the lower screw hole, the next photo shows it done.
be that bluing or case color.
I start with a find file, and being very careful to stay out of the checkering, proceed to dress the raw sufaces, starting with the diamond island at the lower screw hole, the next photo shows it done.
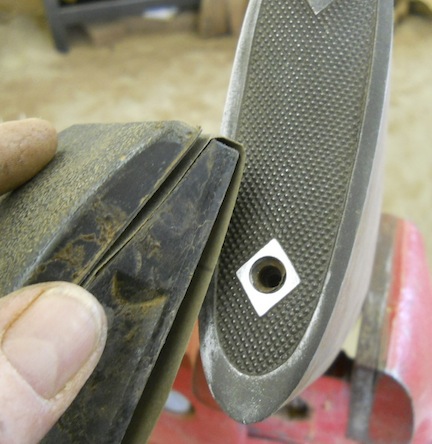
You can now see the diamond island dressed, note the checkering is untouched. You can also
use a sanding block with about a 400 grit wet or dry paper to do the same thing. Now carefully dress the border area.
use a sanding block with about a 400 grit wet or dry paper to do the same thing. Now carefully dress the border area.
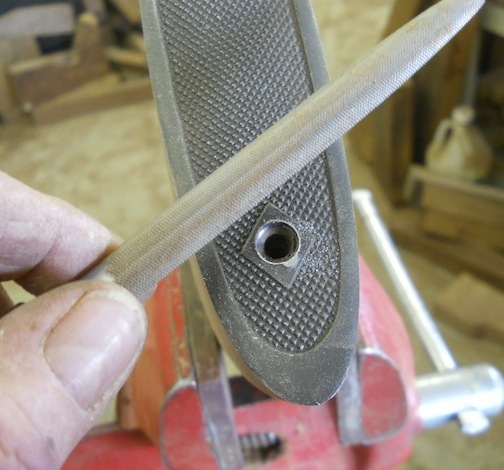
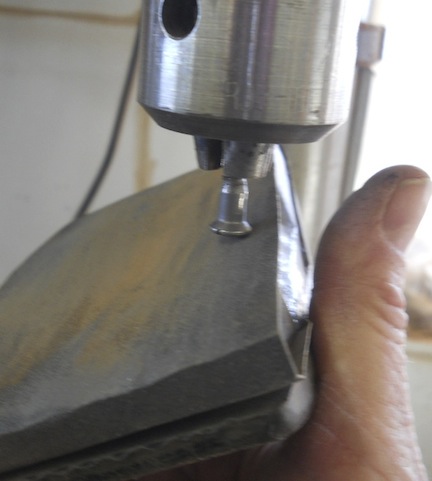
Chuck the screws into a drillpress and roll the sanding block over the head to polish it.
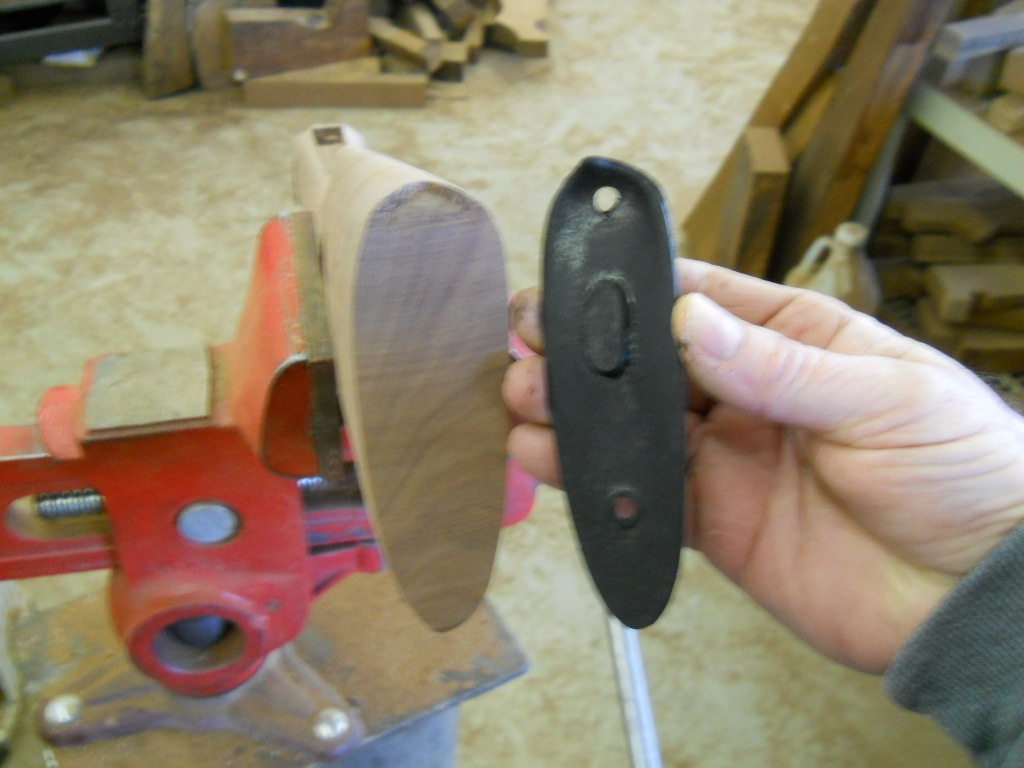
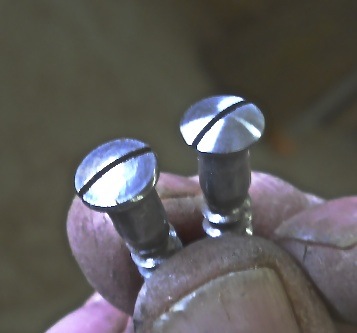
Not a great photo, but you can see the before on the left, and after on the right.
Well that is pretty much how I do it, now the plate and screws are ready to be finished.